How to install 3d-Printed Floating Mushroom Shelves
You can find a video tutorial here: https://vm.tiktok.com/ZMMddEKND/

You will need:
Mushroom Shelf
Screws and anchors
Drill
Drill Bit
Level
Hammer
screw driver
masking tape
pencil or marker
Step 1: How to choose your Drill Bit
How your screw behind your brill bit. You should just be able to see the flange of the screw on either side of your bit. It is better to pre drill a hole that is too small and go one bit size up and drill again compared to making a hole that is too big. https://www.youtube.com/shorts/NLeTuAg4kYk
Step 2: How to know how deep to drill
Hold your wall anchor beside your drill bit and mark around the bit with masking tape where the anchor ends.

Wrapping masking tape around a drill bit to have a depth guide
Step 3: Determine where you want to place your mushroom shelf
You can follow this tutorial from Mercury Stardust for a hack on how to determine where to place your screws: https://youtube.com/shorts/H973NUNDFmw?si=Uu6PtXaE6YRCHaGY
Step 4: Mark your holes
Place your bracket on the wall where you want to install your shelf holding it against the wall with one hand, check it with a level to make sure it is straight. Once the bracket is perfectly situated go ahead and mark the two holes with a pencil or marker. Remove the bracket and make sure you can see your marks on the wall.

using a level to make sure the bracket is straight
Step 5: Drill your holes
Use your drill to pre drill two holes where your marks are taking care not to go deeper than the masking tape marker on your drill bit. Brush off any dust from the wall.

Screwing the piolet holes
Step 6: Installing the anchors
Push your anchors into the holes; they should be snug but still able to go all the way until they are flush with the wall. You can use a hammer to gently tap them in.

Tapping in wall anchors with a hammer
Step 7: Install the bracket
Making sure that your bracket is facing the right way, secure it to the wall with your screws using a screw driver

Attaching the bracket with a screw driver
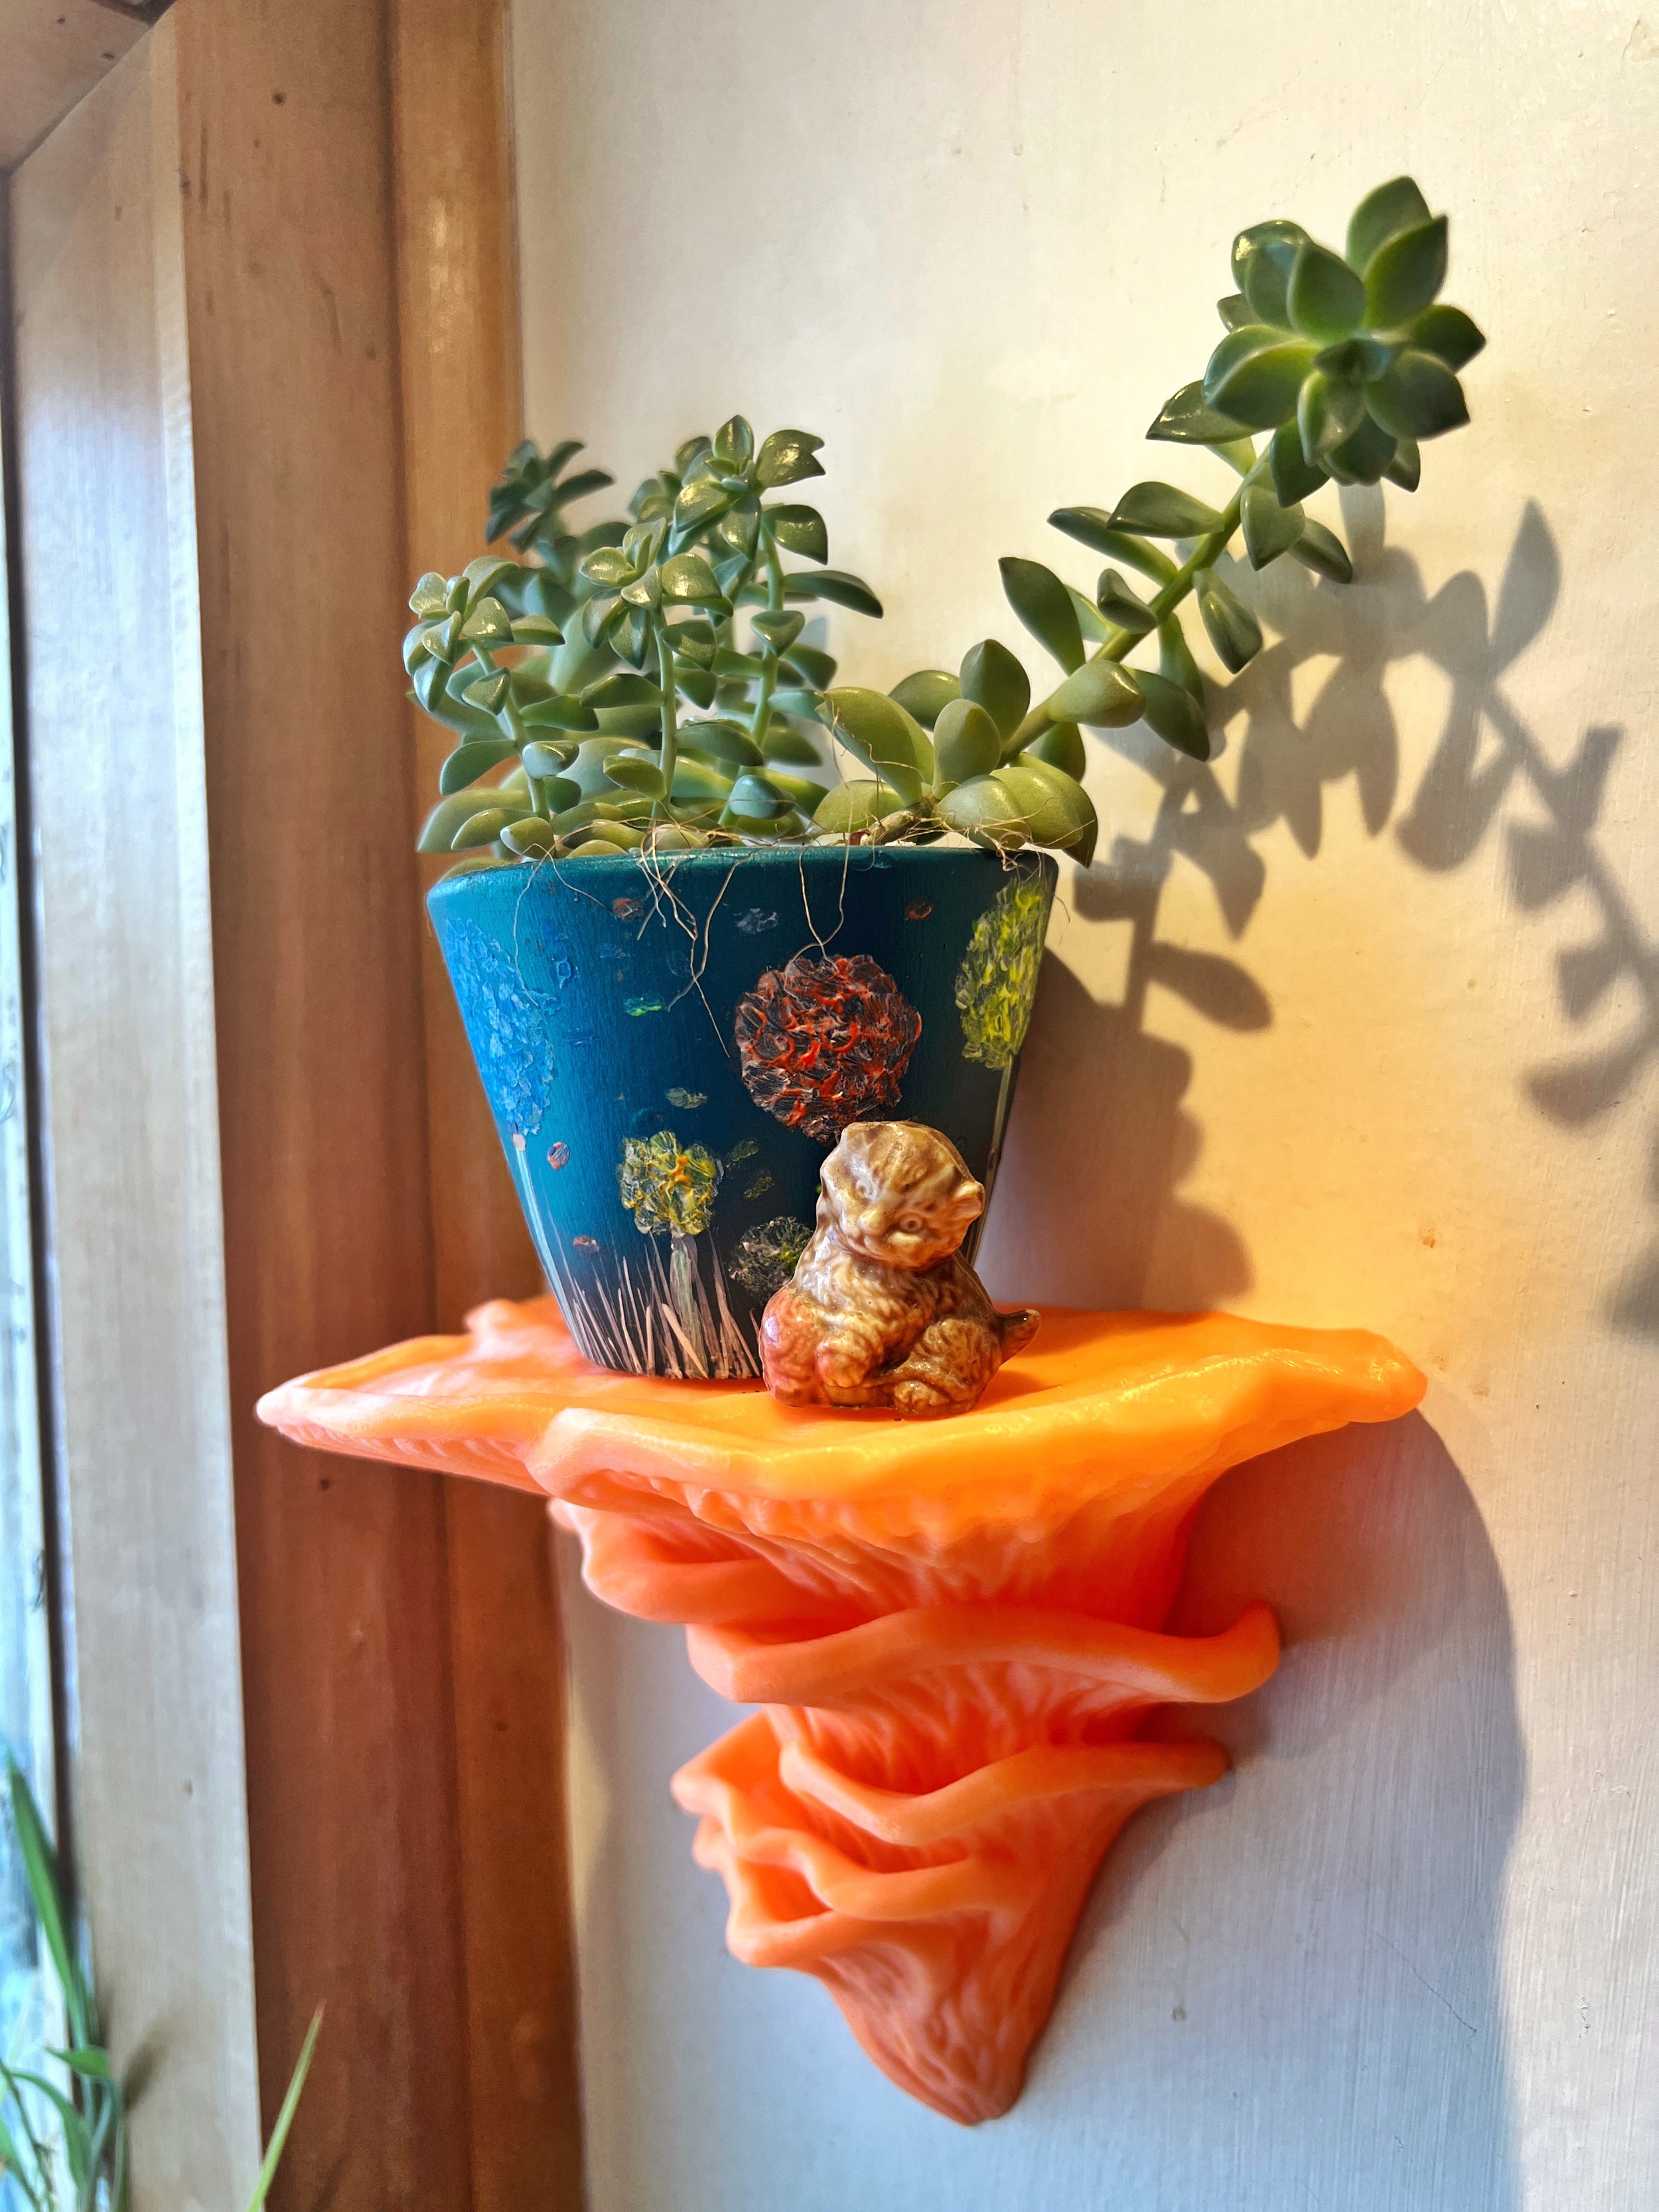
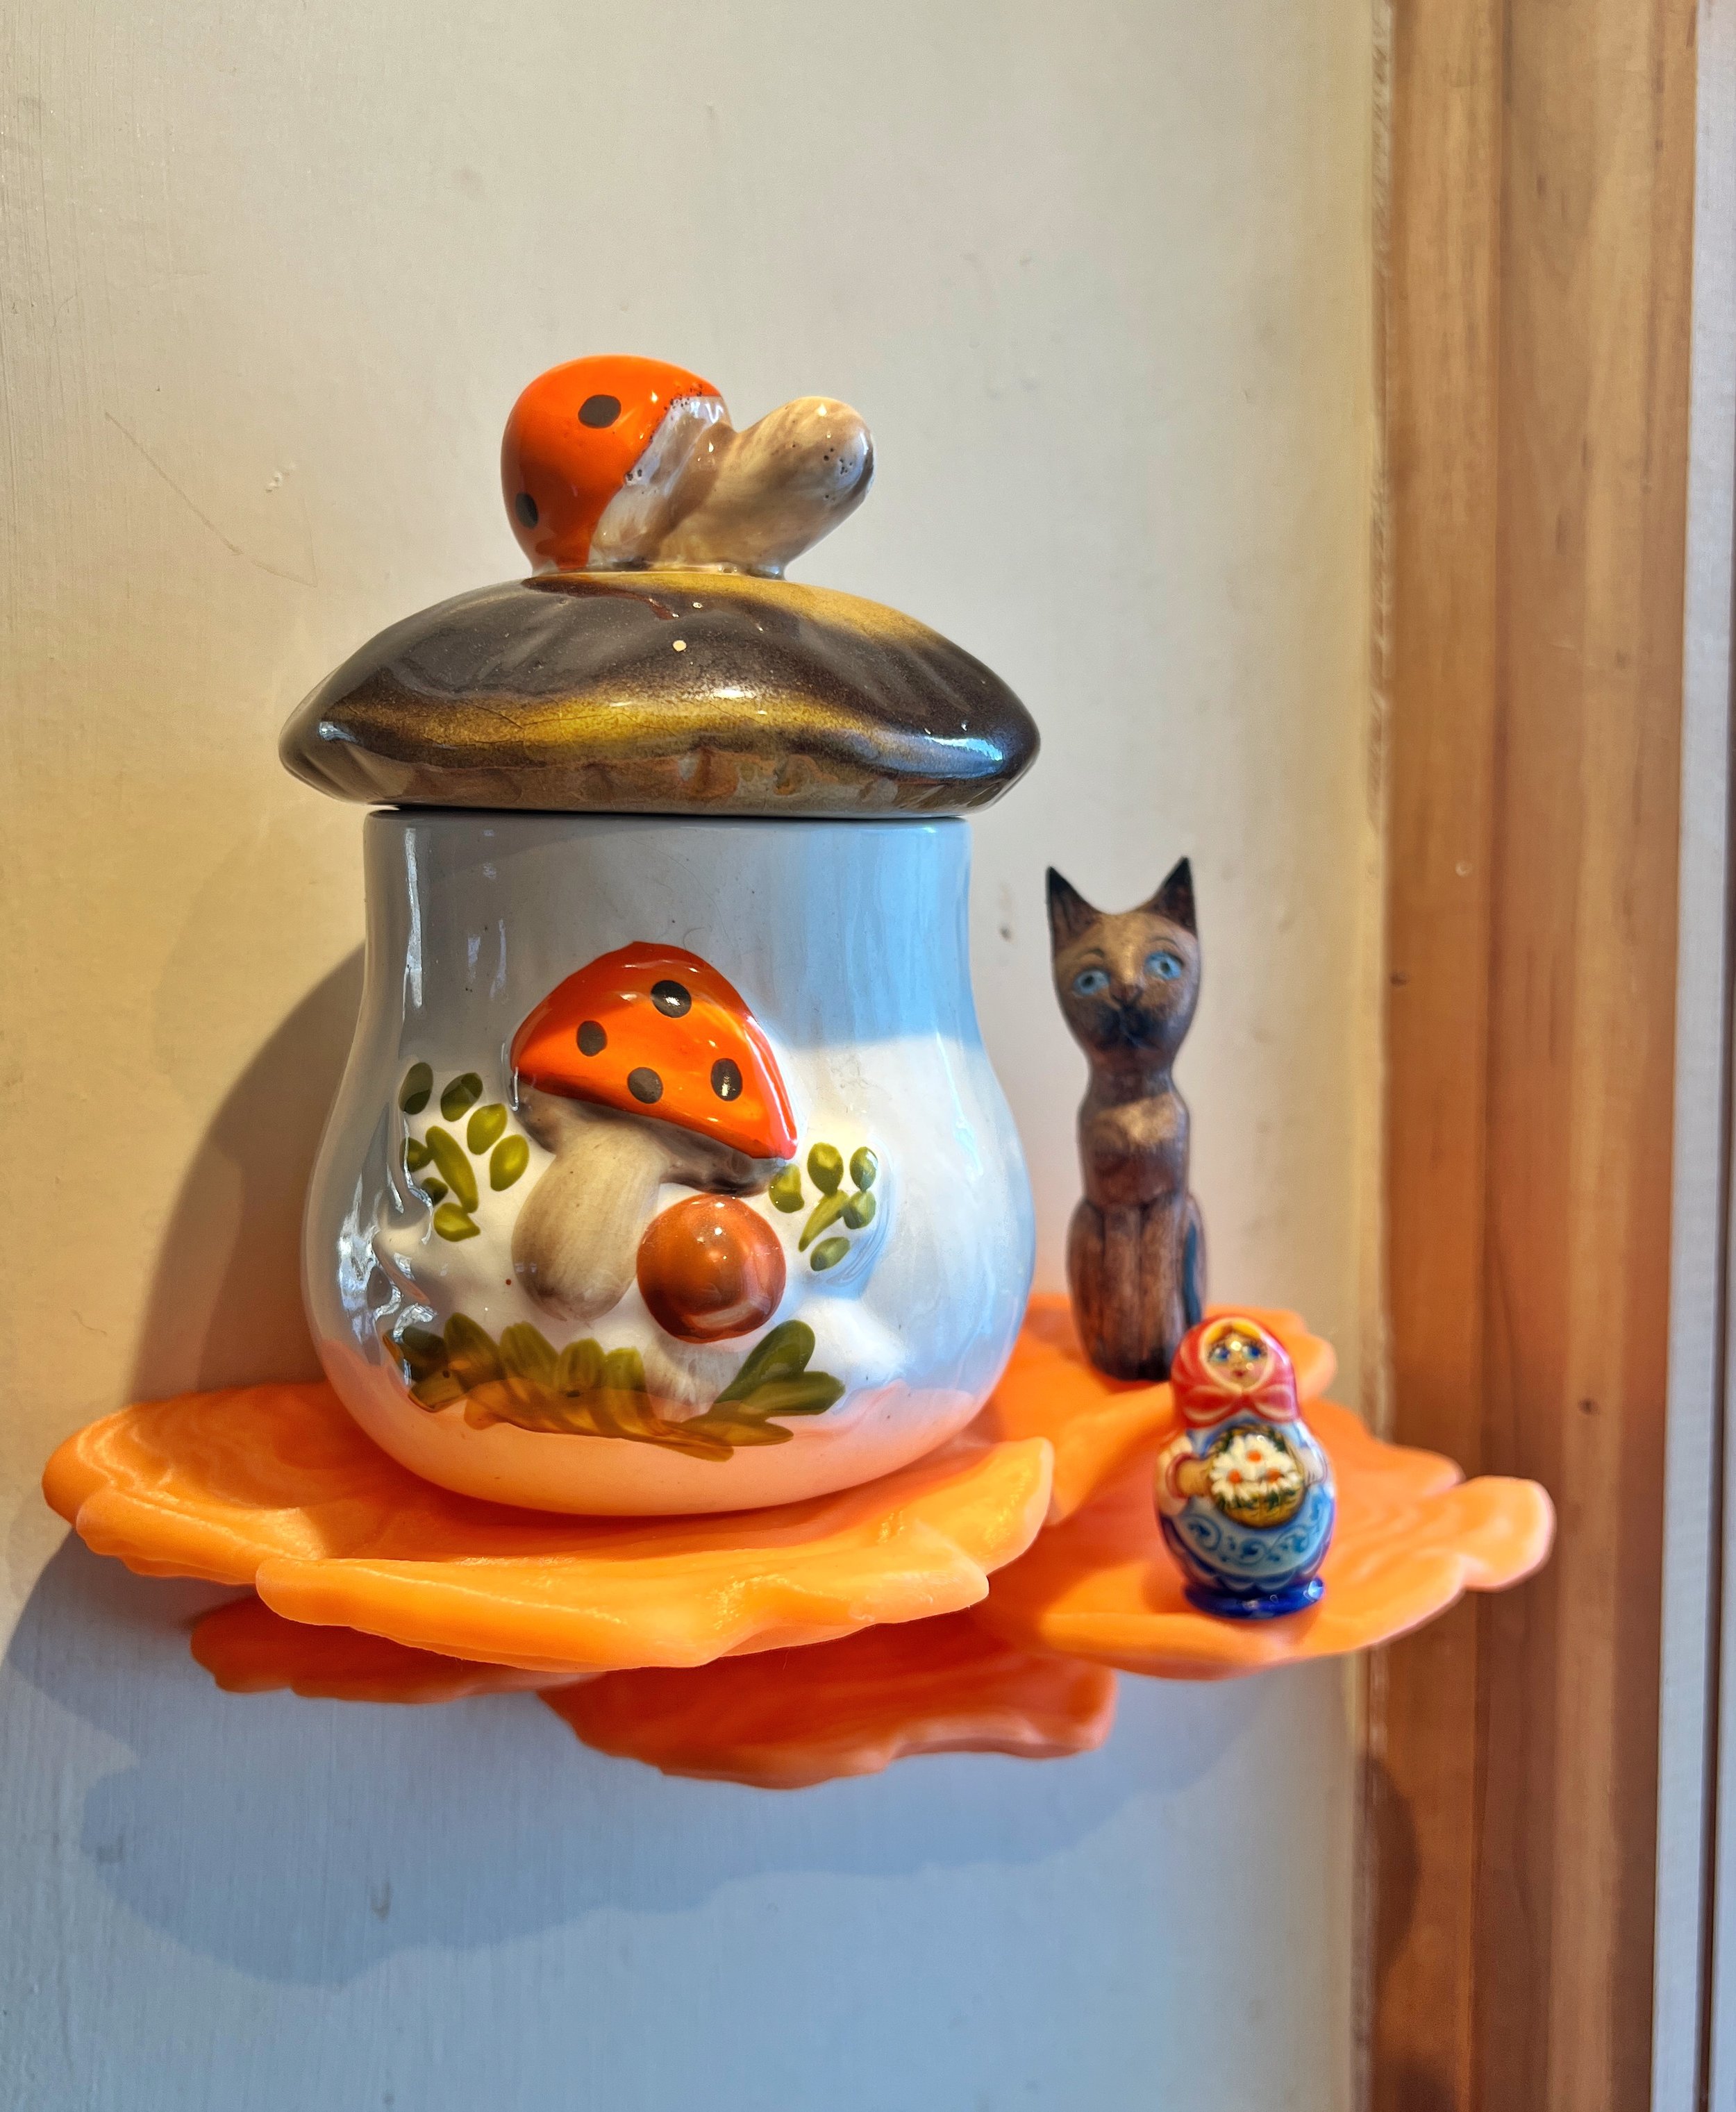
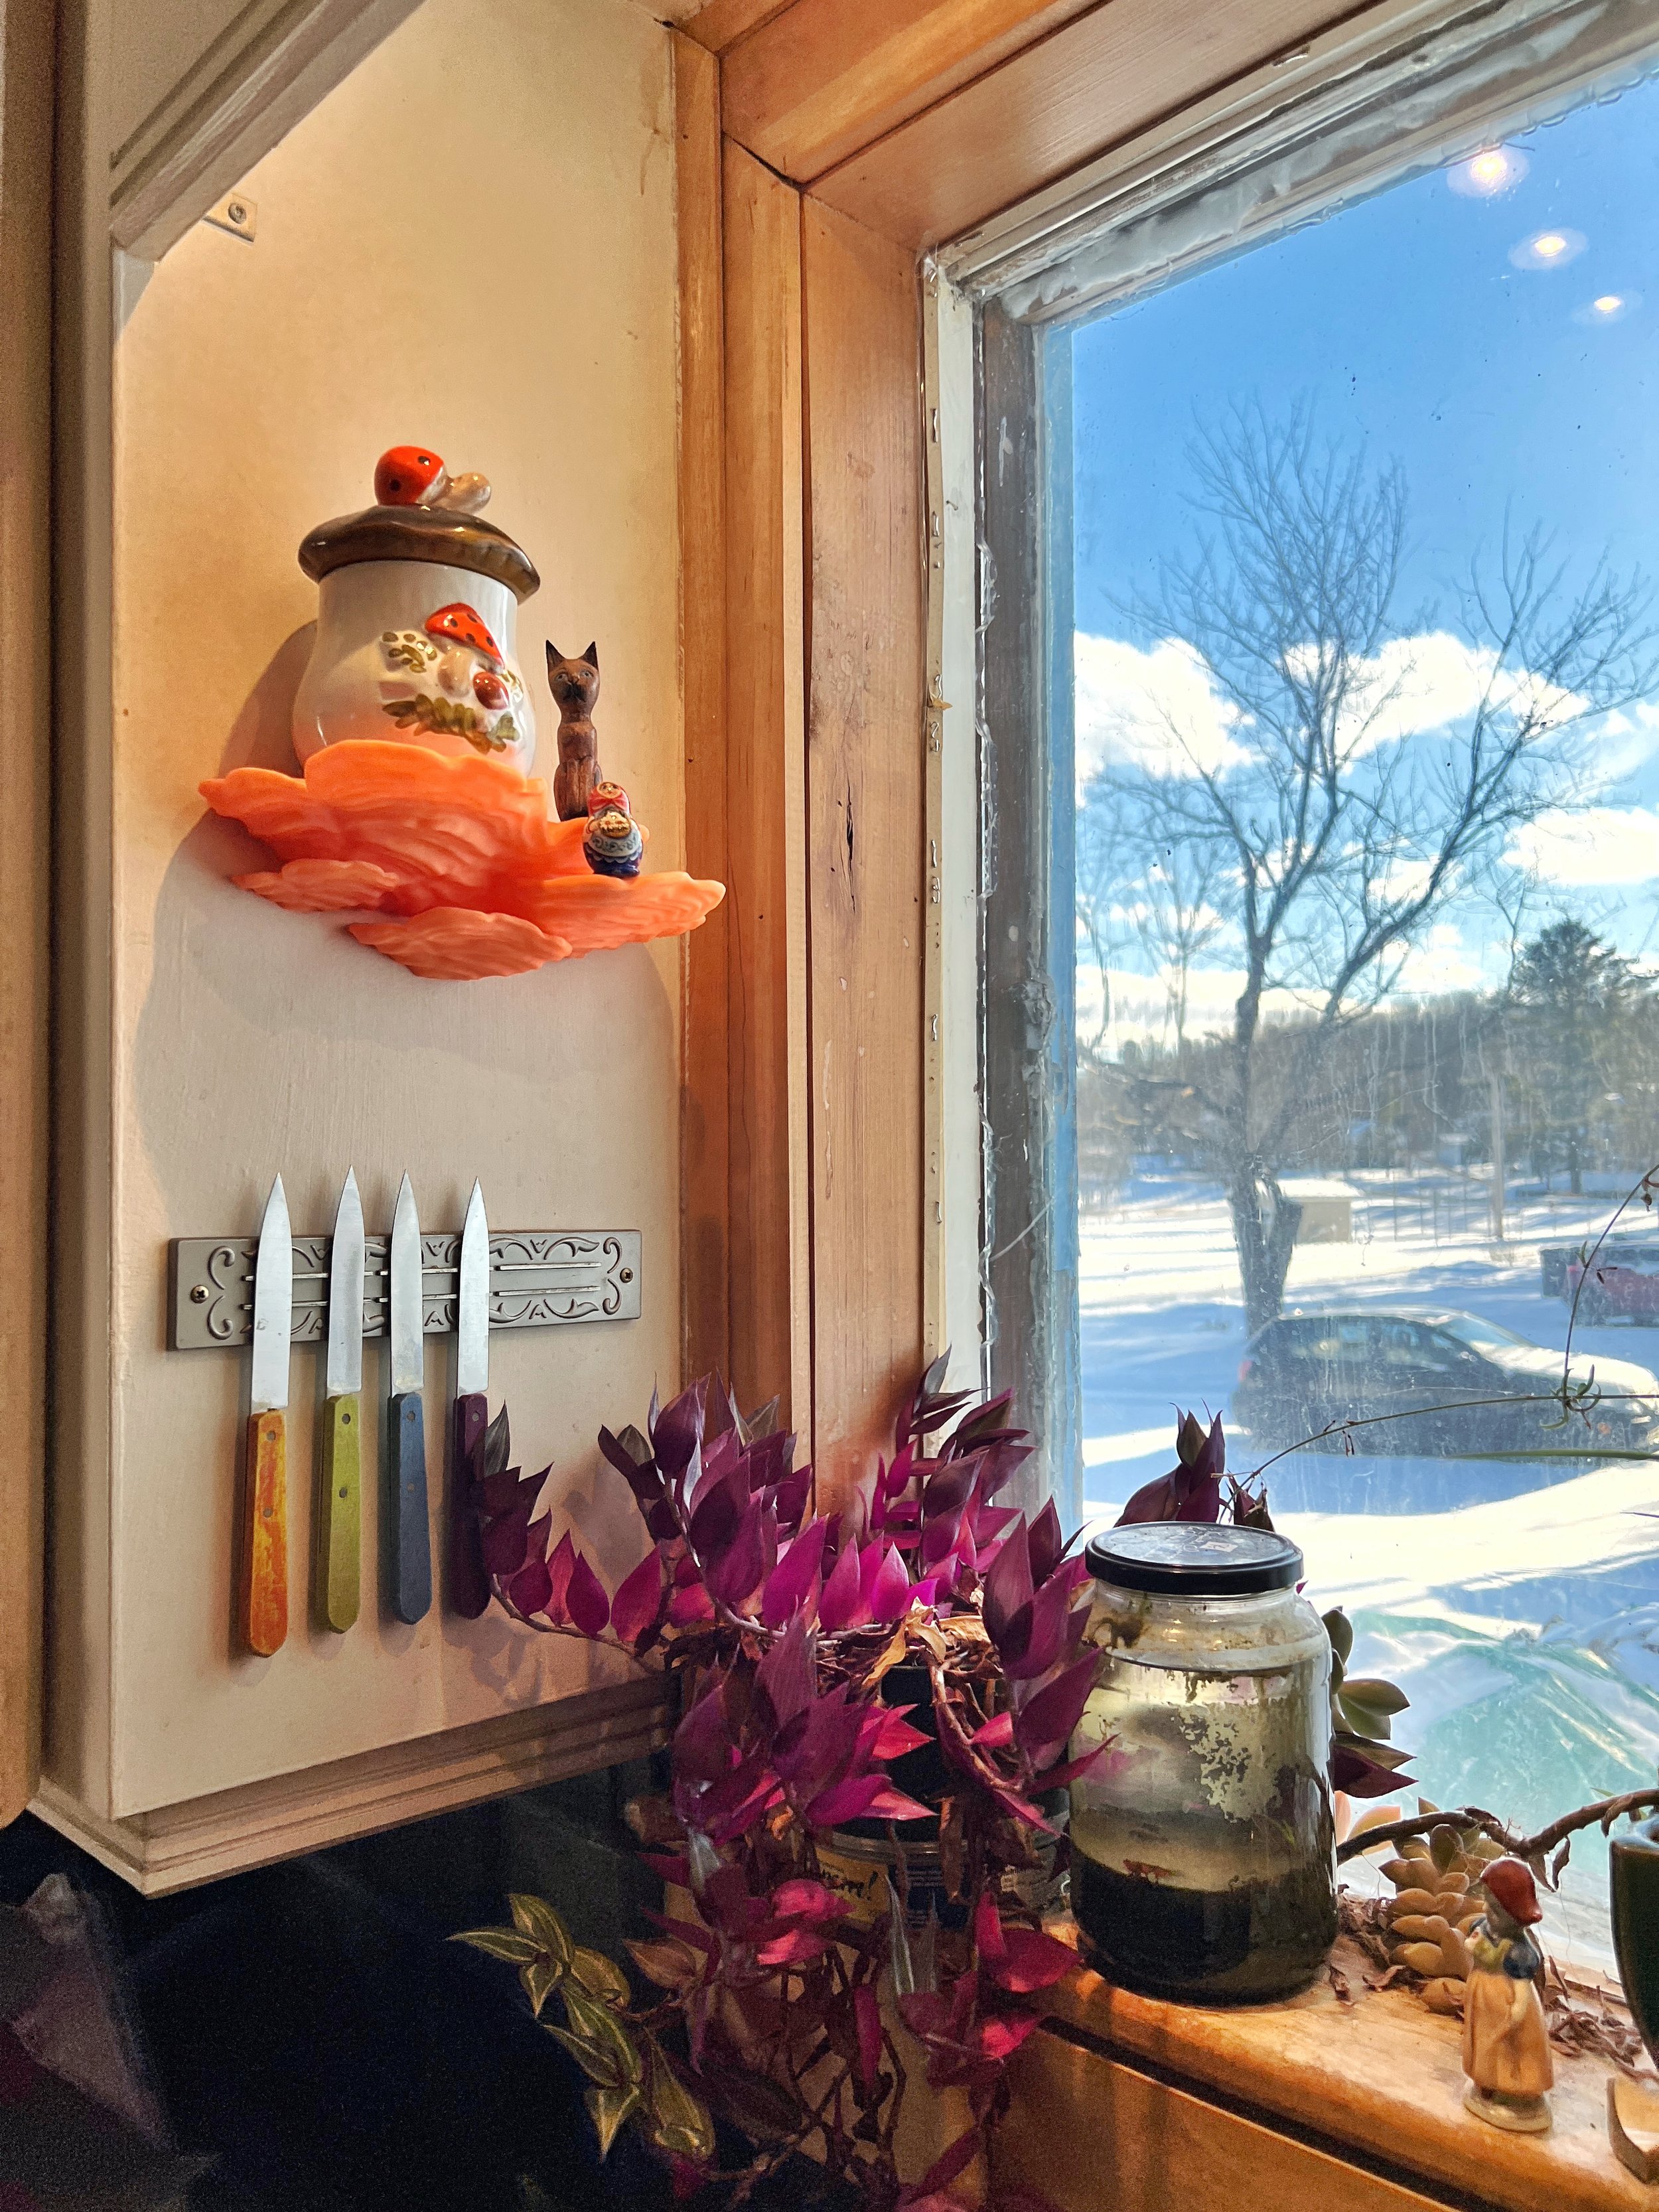
Step 8: Install the floating mushroom shelf
Once the bracket is attached to the wall you will be able to slide your floating mushroom shelf into the bracket; make sure it is secure.
These shelves are light weigh and sturdy but they are not meant to bear overly heavy loads. Please use caution when choosing what you want to display one them.

Attaching the 3d printed mushroom shelf
These mushroom shelves are available for purchase here: https://www.ninahaighcreative.com/ninahaighcreativeshop/mushroomshelves